Step 1 : Do Your Research
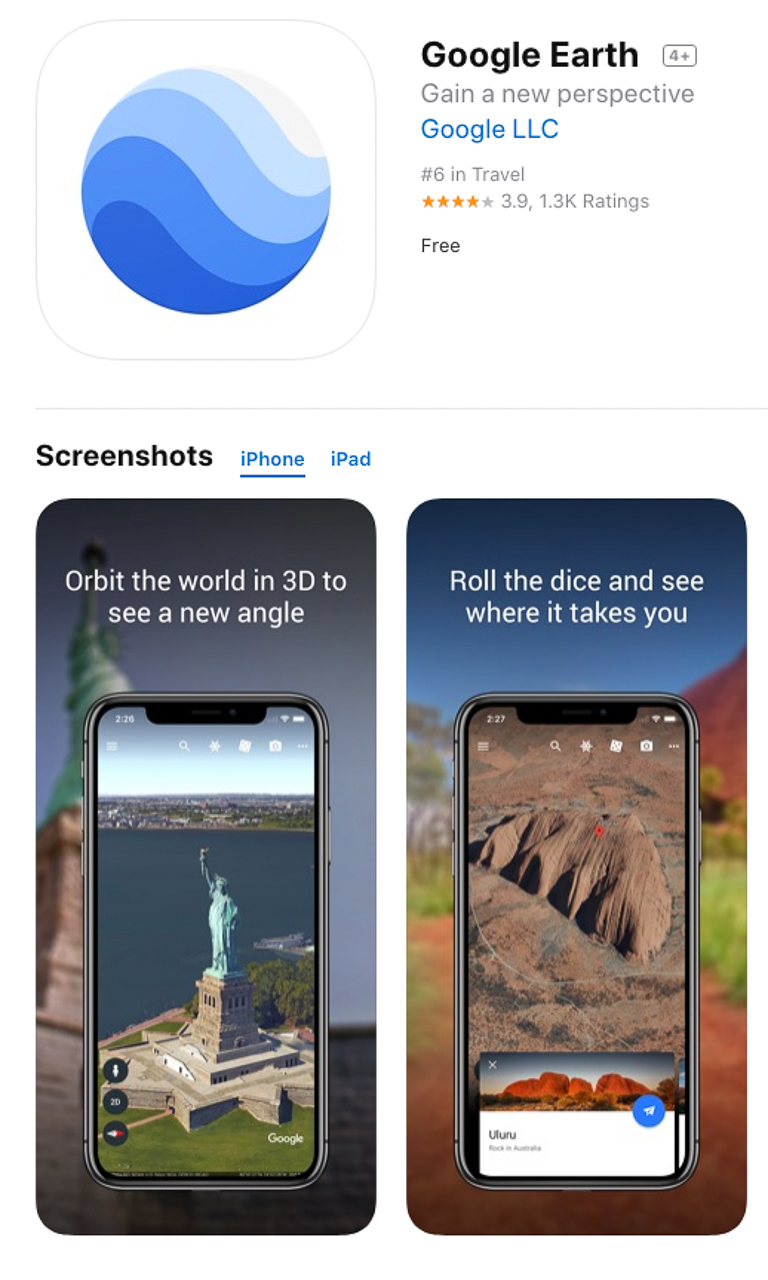
Once you have been commissioned for a real estate drone shoot you will need to do some research - the weather is a big factor - it needs to be sunny, with low winds (my DJI Phantom 4 can tolerate gusts up to 35 km/hr but the DJI Mavic Pro 2 is not so robust in strong winds) and preferably in the morning if you are flying over water bodies. You want blue water without light reflecting back off it and no 'white caps'. I use apps such as Weatherzone or BOM (Bureau of Meteorology). Also checkout Google Streetview and Google Earth Pro to get visuals of what the property looks like from the street and also from above. I also use a fabulous app called UAV Forecast which combines weather forecasts, visible GPS satellites, and solar flare (Kp) activity, to produce a comprehensive report and forecast of flying. It also tells you whether you are near a controlled airport - you will not be able to fly unless you are more than 5.5km away.
Step 2 : Liaise With Your Real Estate Agent
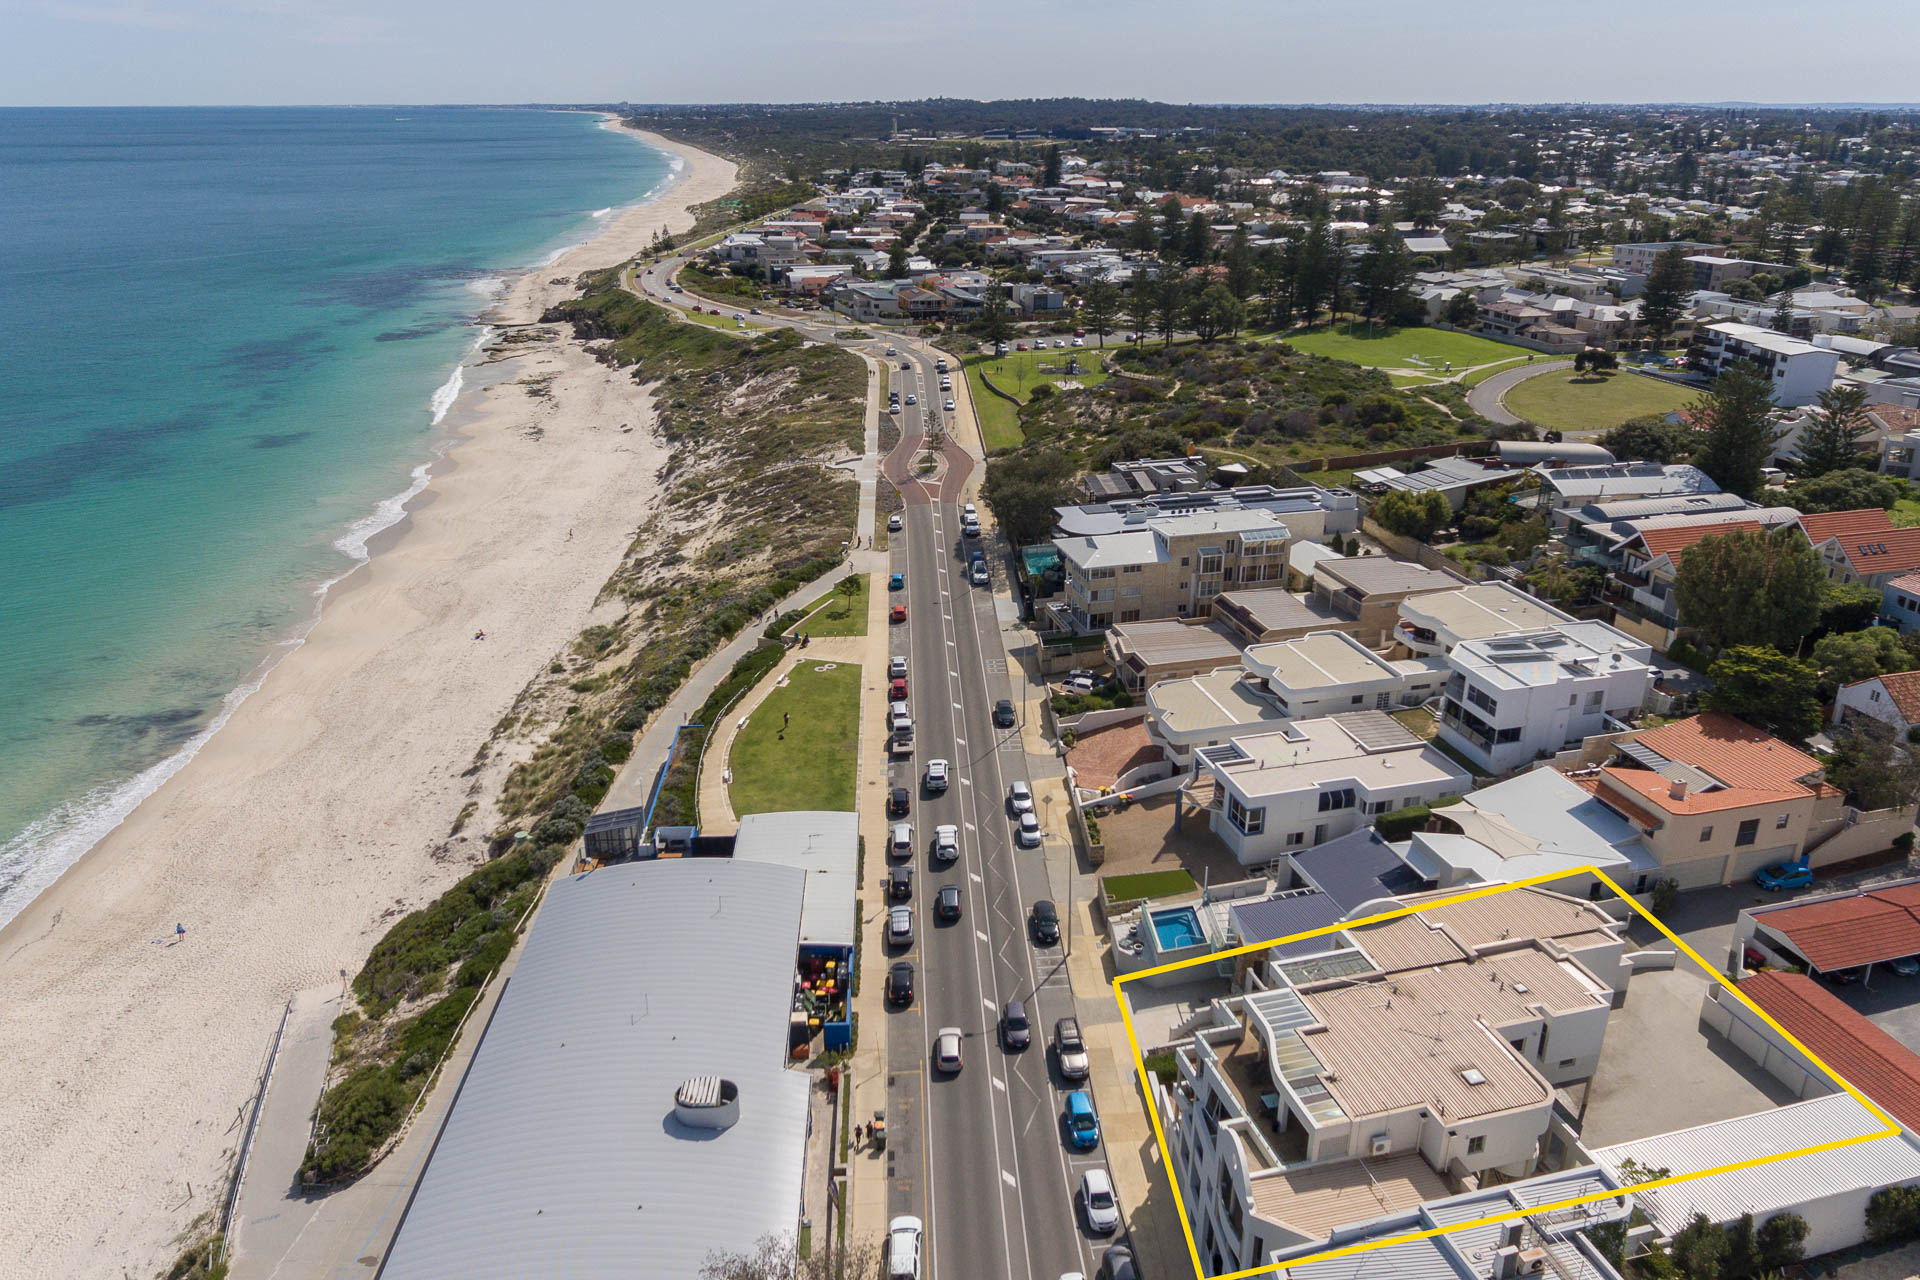
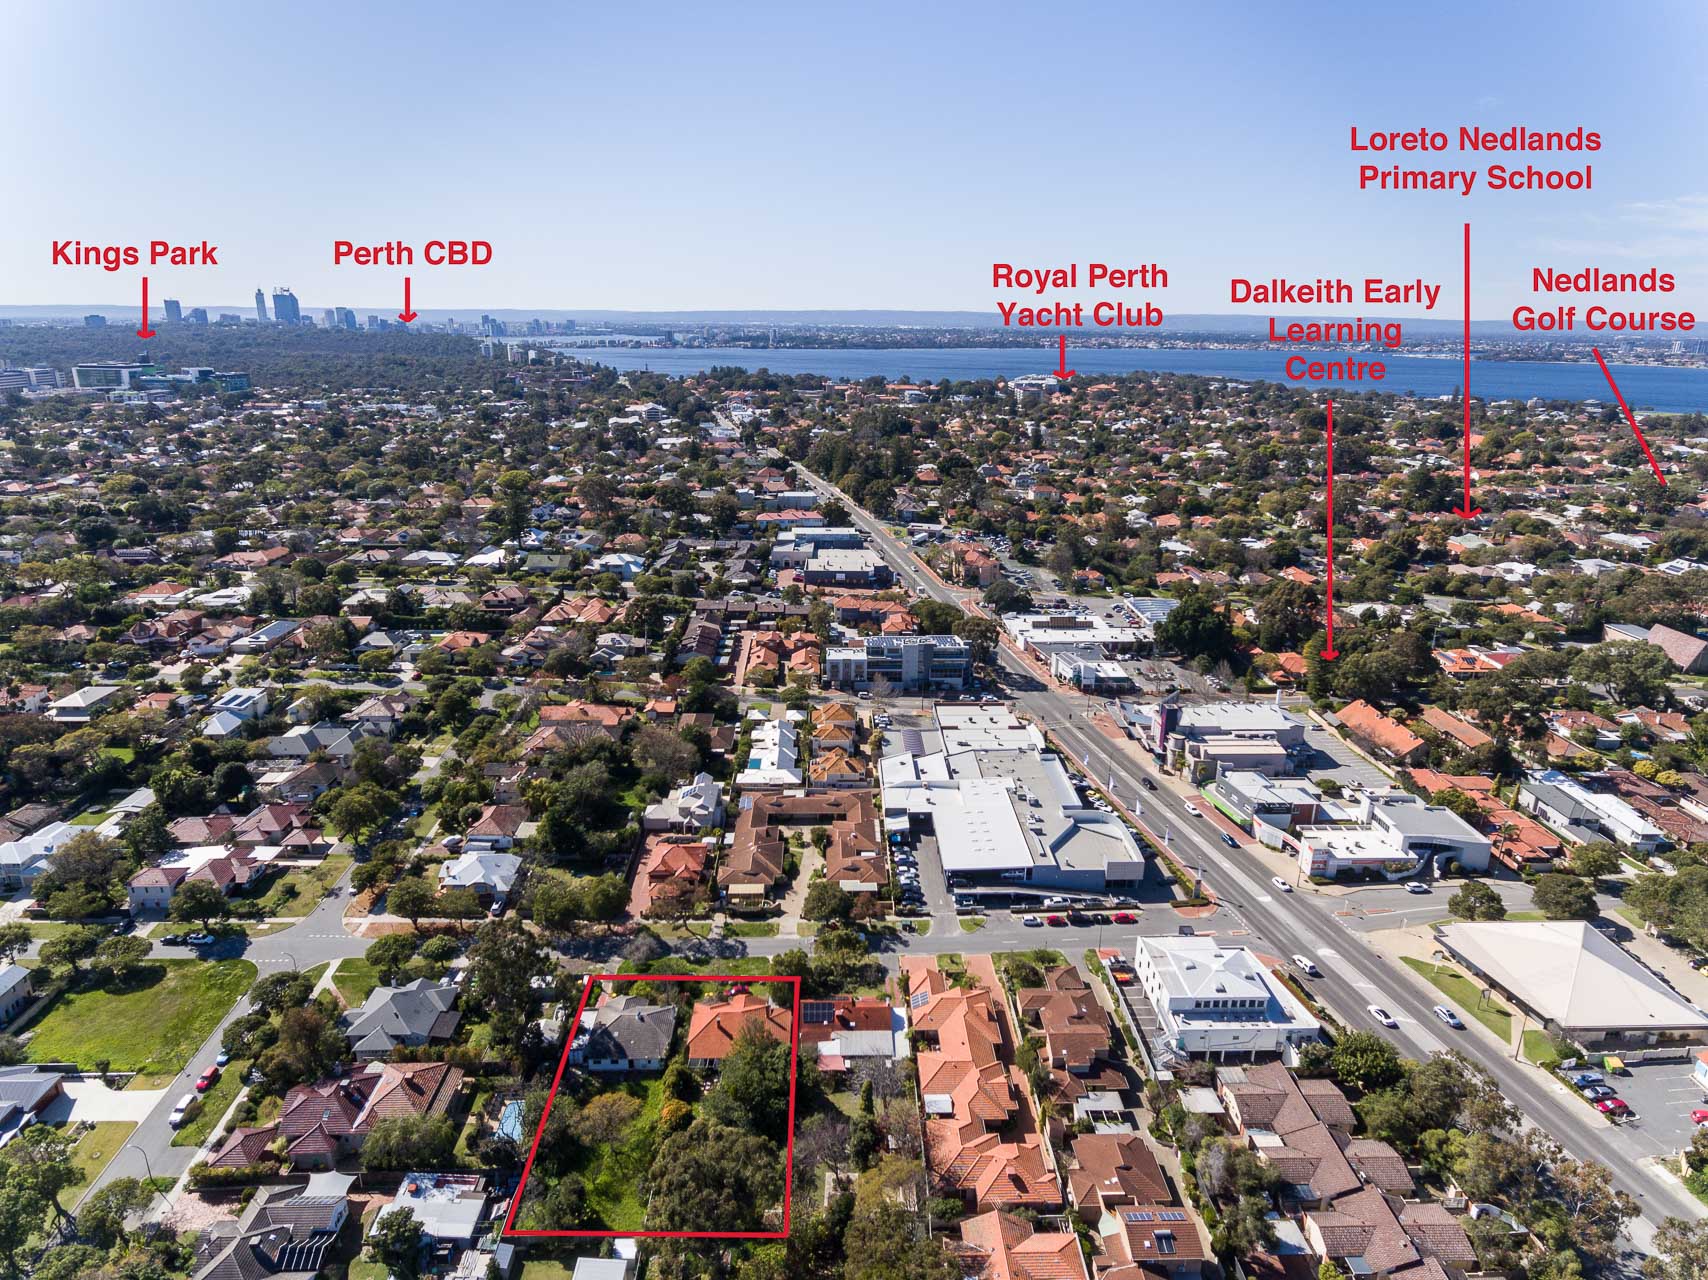
Have a chat with your real estate agent about any particular landmarks that he/she may want to be included in the images taken - generally it's water bodies (lake, ocean, river), proximity to the CBD, major shopping strips, parks, yacht clubs, golf clubs, schools, transport etc and whether they want both an overhead/birds eye shot of the property (in both vertical and horizontal format) as well as how the property is positioned in relation to other landmarks.


Step 3 : Do A Reccie Of The Area
If time & location will allow, do a reccie of the area you will be flying in. You need to be familiar with the landscape - are there tall trees, high buildings, high ground? What is the best vantage point for you are the pilot to be positioned - you need to be able to keep your drone in sight at all times?
Step 4 : What Angles to Take
After checking all the safety aspects of your drone - ensuring you have your home point updated, you have calibrated your position, you have set your 'return to home' point to above the tallest landmark, you have a strong GPS signal and you have plenty of battery power in your drone and controller - you are now ready to launch.
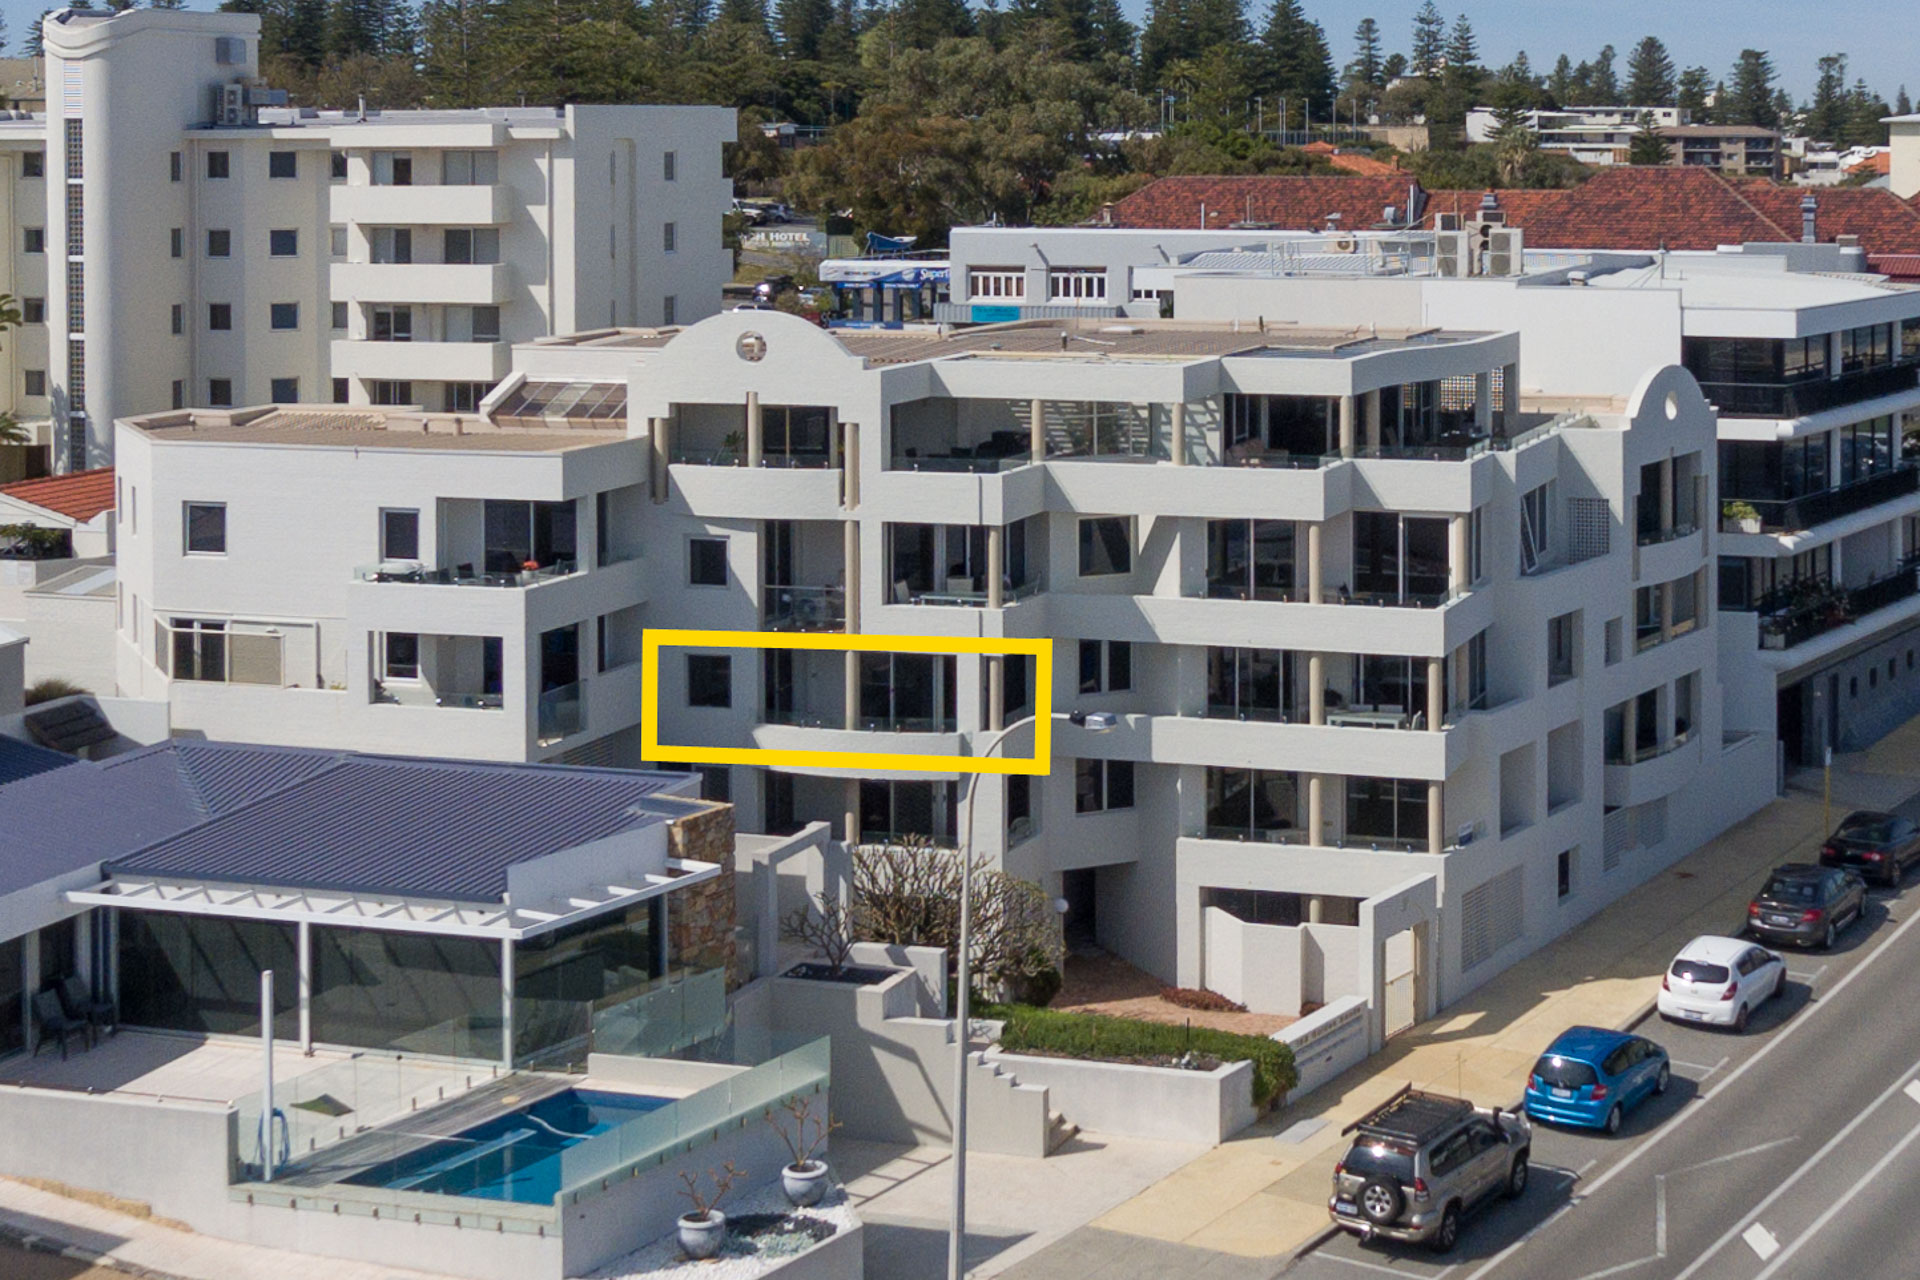
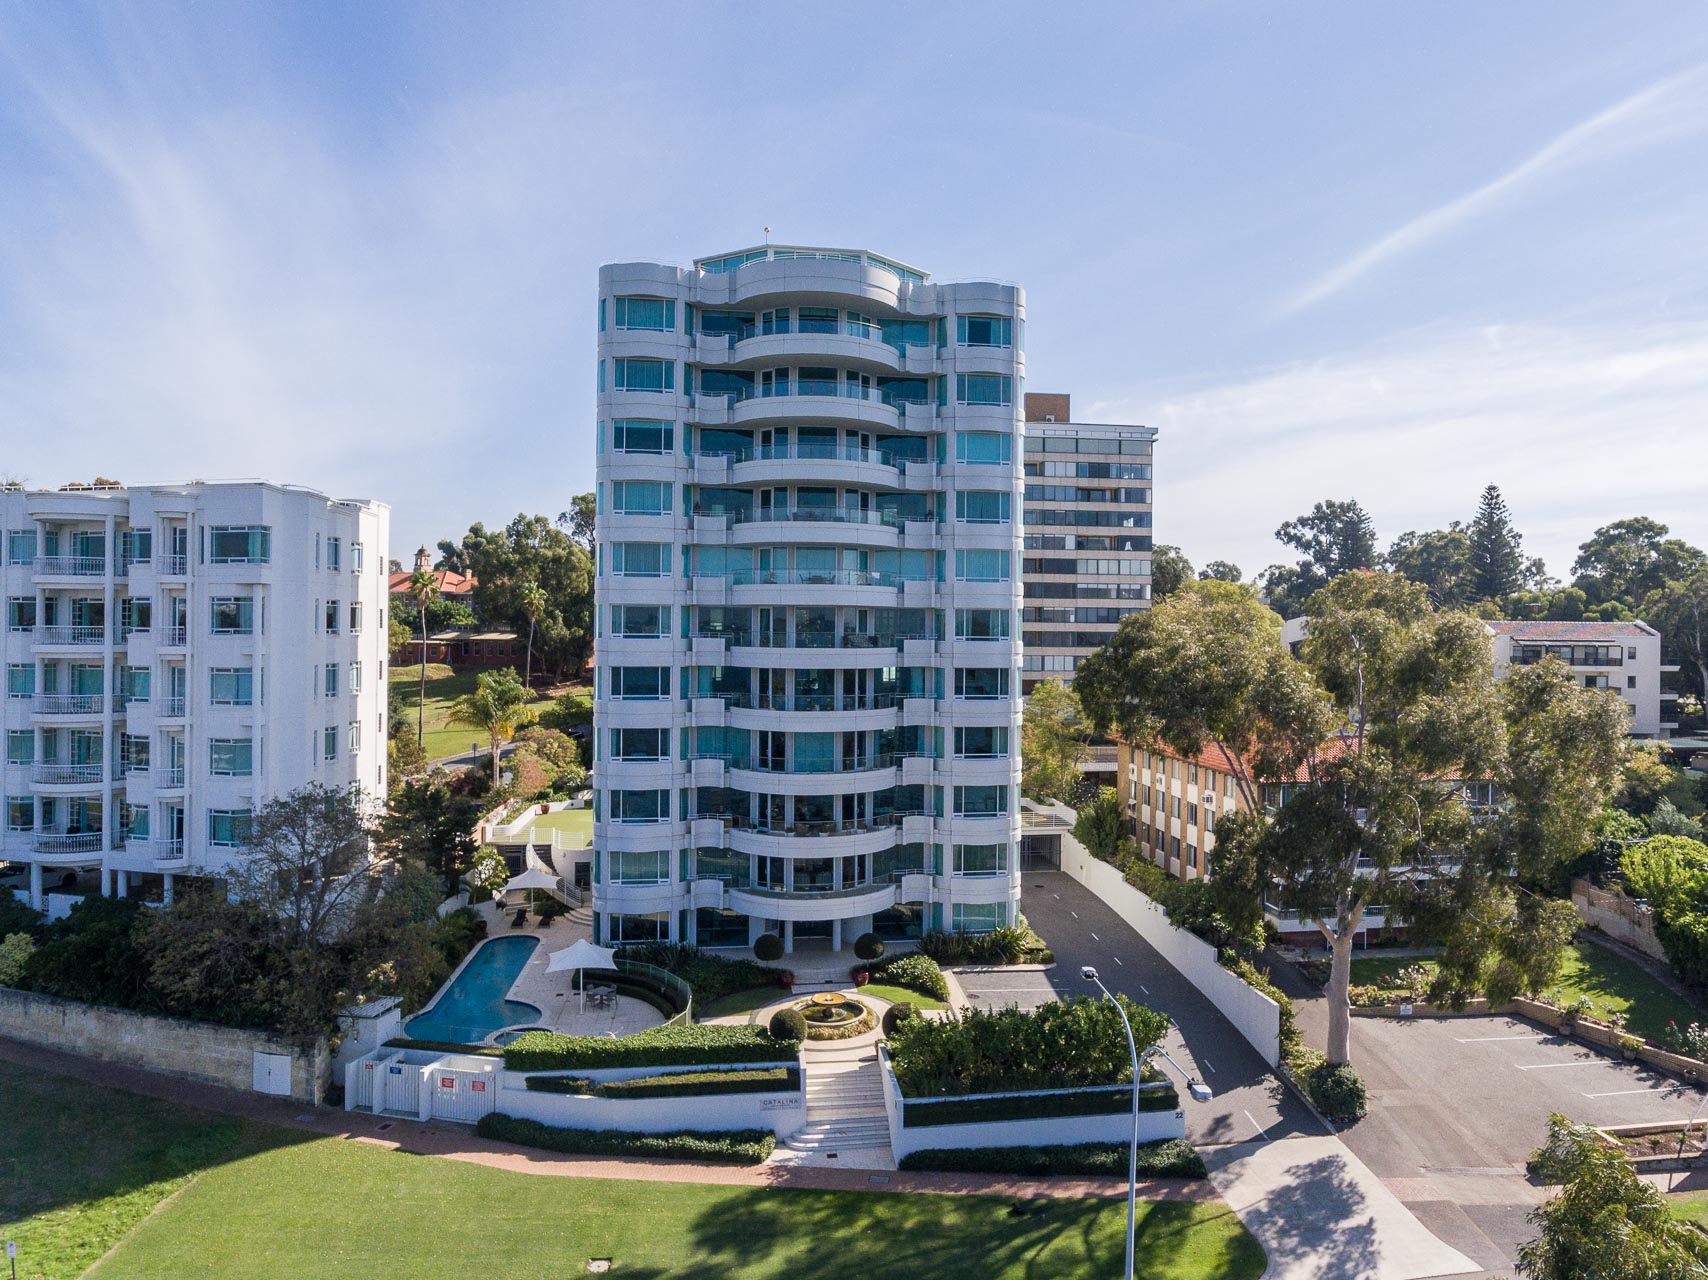
I firstly take images of all the surroundings with the property placed in the centre on the lower edge of the image and the horizon visible - this usually means at least 6-8 images facing north, south, east and west and in between these points. It is better to overlap your images slightly to ensure you have all aspects covered. Then hover directly over the property and with the camera pointing straight down take images both in a horizontal and vertical format. If the building is multi-storey (as in the apartment block below) also get some front elevation shots before you land.
That should be all the images you need to get and shouldn't have taken you more than 15-20 mins - so plenty of battery power to fly home. This is the advantage of leaving the overhead shots until last ... just remember also that if it is a windy day it is best to fly into the wind first so you have the breeze behind your drone flying home, thereby not using as much battery power.

Step 5 : Check your DJI app on your smartphone or ipad
Before you head back to the office remember to check that your images have been taken to your brief and that they look OK on the DJI app on your smartphone, ipad or built-in screen. It wouldn't be good if you had to turn around and do the whole shoot again if you are on a tight time deadline
Step 6 : Upload And Edit The Images
Upload the images to your preferred editing programme - I use a card reader to quickly transfer the images from the microSD card to Lightroom. They generally need little editing if you have shot in RAW and have bright sunny daylight - sometimes a little adjustment to the exposure, contrast and clarity (+20 each) and maybe some lens correction if there is slight barrelling and vignetting. Occasionally the horizon will need leveling. I keep them in the 4:3 aspect ratio which is preferred by realestate.com.au and domain.com.au.
You will need to import the image to Photoshop if dimensions and boundaries need to be added to the property or landmark text and arrows included. Then all there is to do is to export the low resolution (watermarked) and high resolution images to your client. I use Dropbox to send them or WeTransfer if you dont want them stored.
Coming Up Soon ...
I have recently up-skilled myself in Final Cut Pro X so have added drone video to my "one-stop-shop"... we will be including this in our Blog series soon...
Cheers,
Serena